While I was in Maui I found and purchased several kinds of shells. At first, I had no idea what I was going to do with them…just that I would ‘have’ them. And, then when Joy and I were in a wonderful shop in Makawao, I saw the most wonderful distressed box with shells covering the top. Arranged so artfully, the shells sat ‘just so’. Each was shown to its best advantage. Obviously the price reflected the hard work of the artist…the price was $125.00! Carefully, we put it back on the shelf. But, I began planning how I would create a box for my shells…which were just as beautiful.My plan was to purchase one of the unfinished boxes, paint it, distress it, then glue on the sheells.
One day this week, I was a t Michael’s and I saw some wonderful decorative boxes. I’m sure you know the kind…3 differing sizes and decorated with different types paper. I knew immediately that it would be mucho easy to do it this way. So that’s what I did. I lay down a bottom layer of smaller white scallop shells…then placed and moved and placed and changed and placed and hot glued. I think it looks really nice. It really will when I get out all of my beachy decor and kitchen ware.
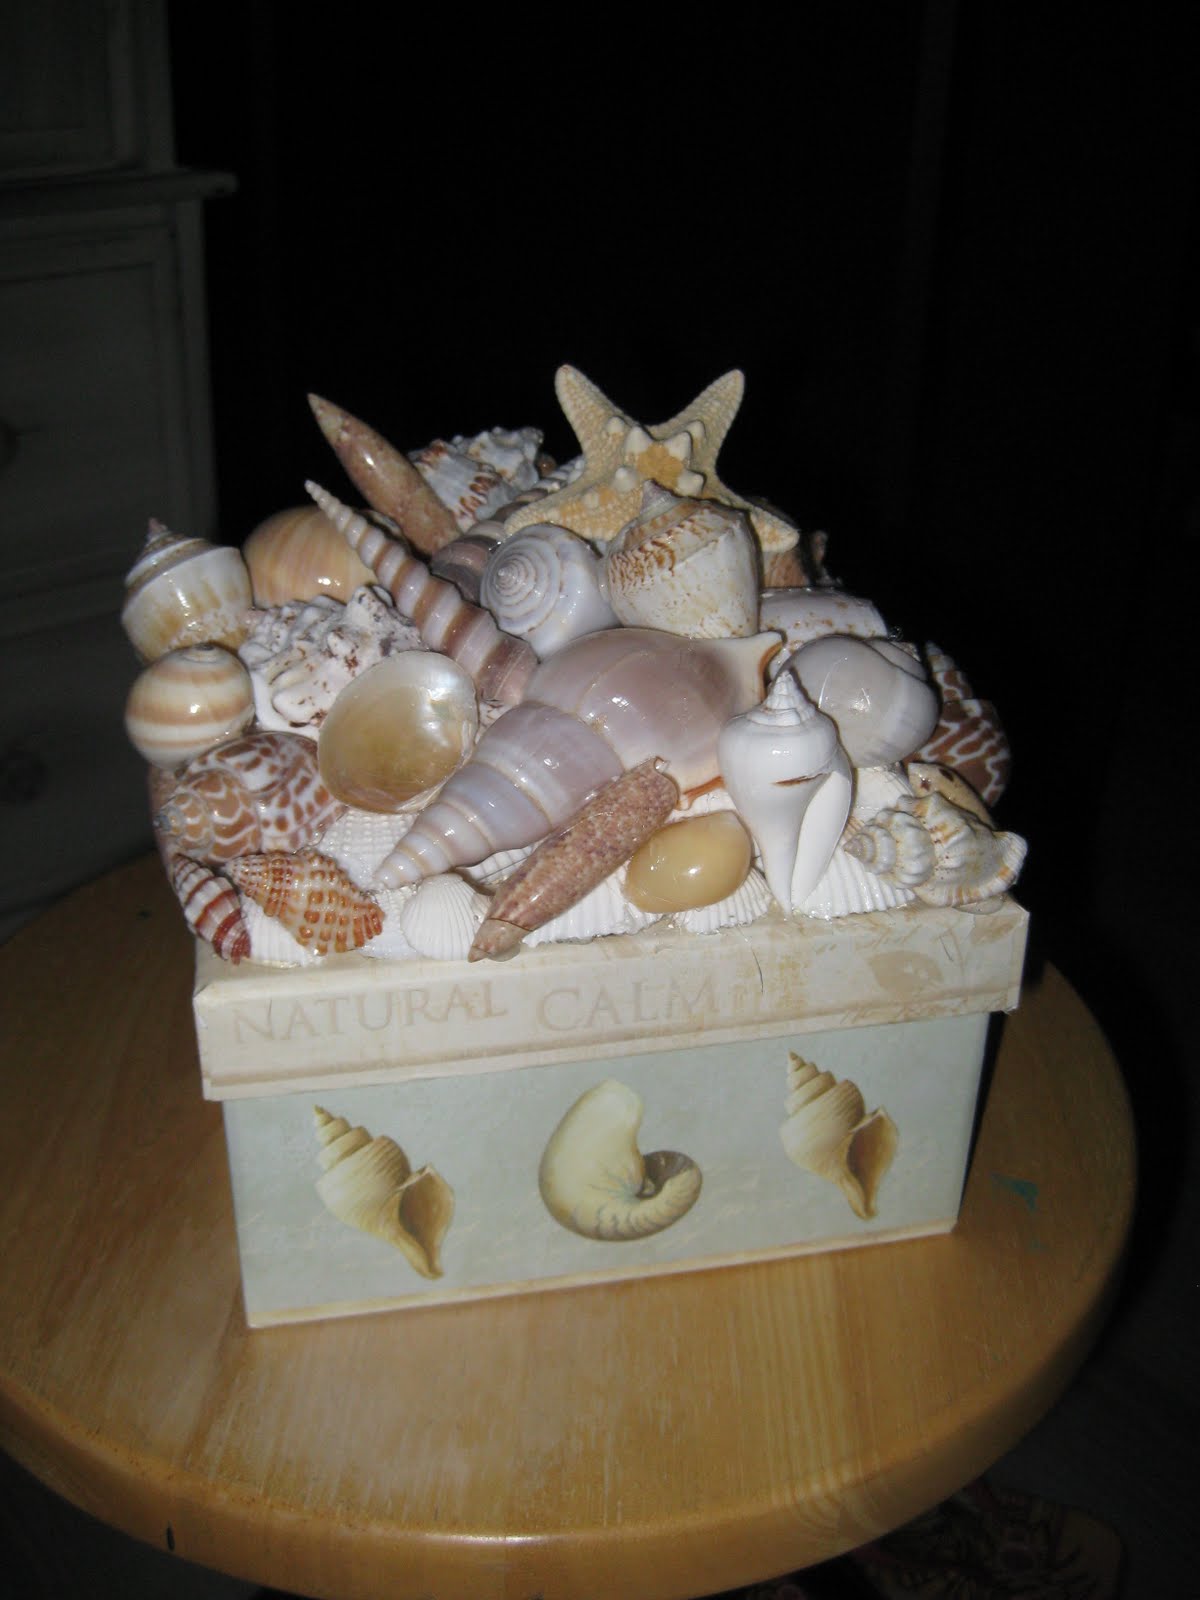
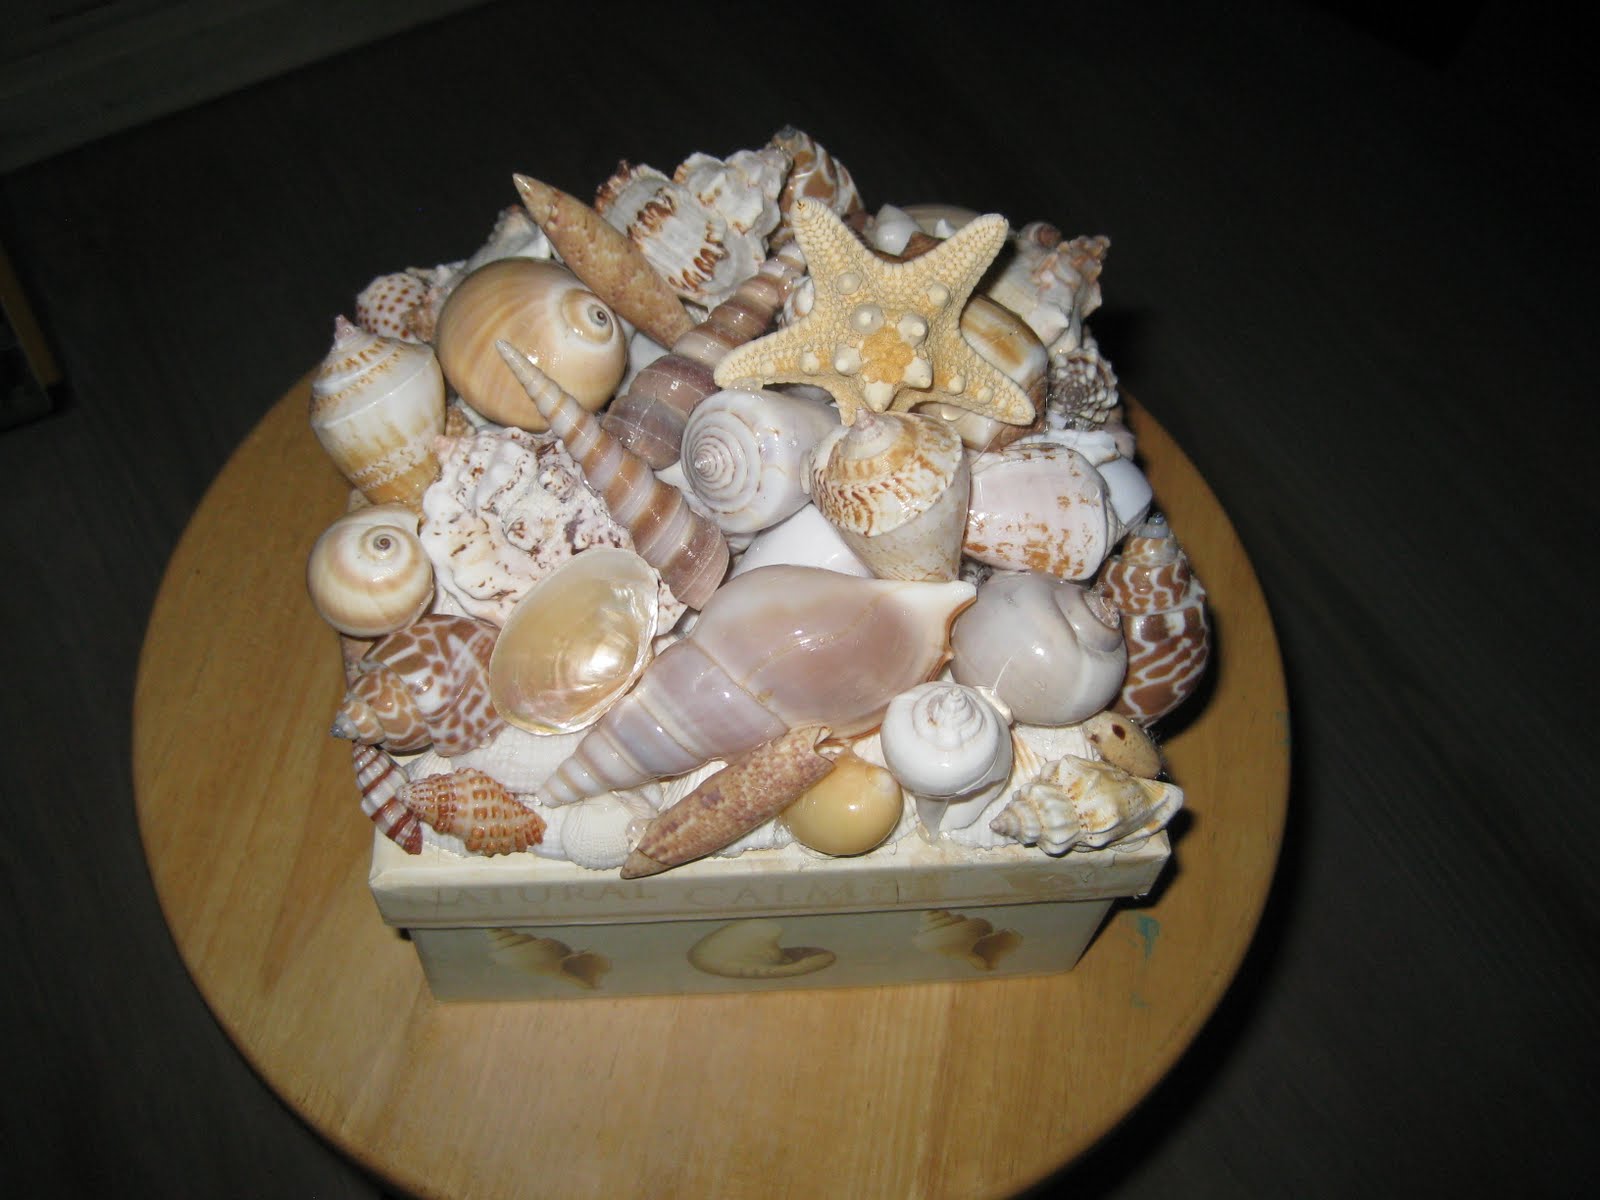
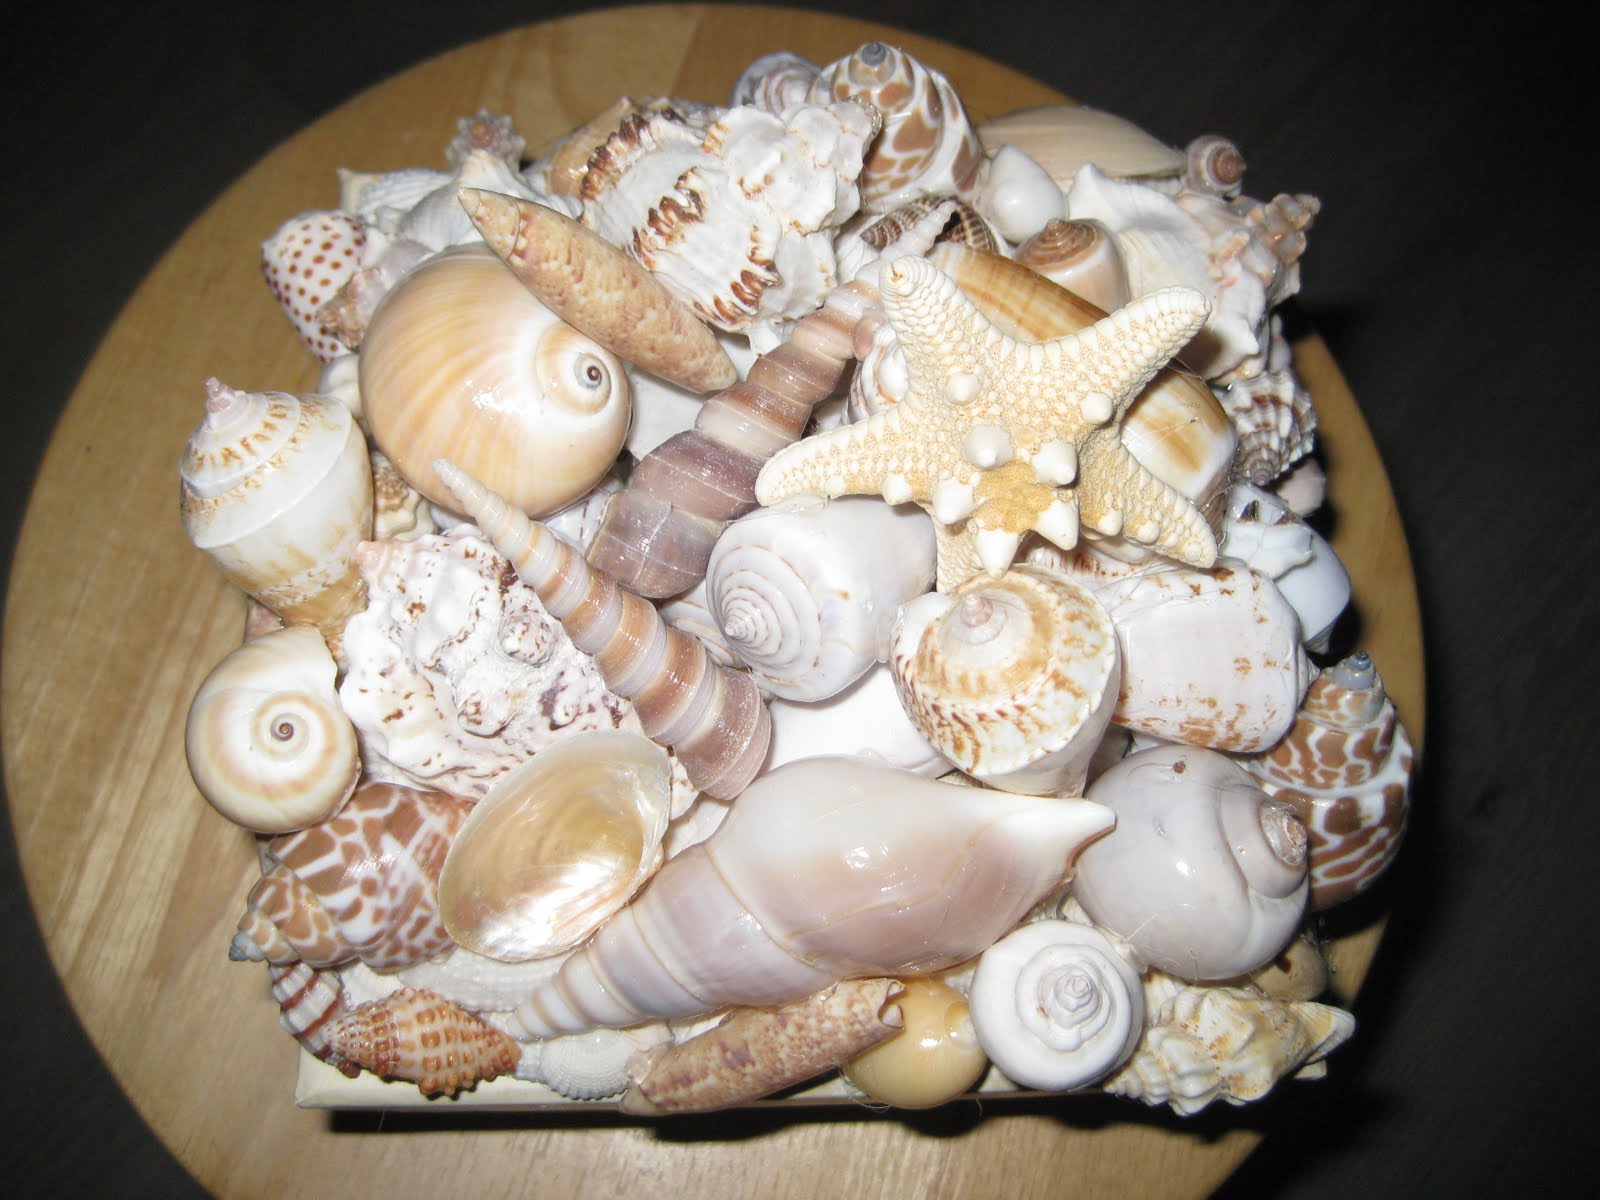
I really forgot to take some before pics…so all these are afters.
******************************
Did you know that you should wash all the shells that you get at the beach before using them? And, here is how… READ ON!
So you’ve picked up a seashell or two while on vacation at the beach. Many people do. They make a nice inexpensive momento of your vacation. No problem. At least no problem until you realize you and your bags smell like you haven’t showered, or as in our case, you jump in the car a few days later and jump right back out — it stinks! A good cleaning is all that is needed to destroy any odors the seashells might have. Knowing how to properly clean your seashells will not only get rid of the odor, but you may find you have a nicer looking shell without any algae or barnacles covering them.
Some areas in Florida prohibit the collection of “live” shells. These are shells with the animal tissue still inside. “Dead” shell specimens, which have no animal tissue inside, can be picked up freely.
There are several known methods for cleaning live shells. When finished, read through cleaning dead seashells.
1.Burying: This is probably the easiest, but takes a couple of months. Locate an area in your yard where you don’t mind digging a hole. Bury the seashells about 18 inches (deep enough so animals will not dig them up). They need to remain buried until insects, larvae, worms, and bacteria remove all the tissue. The longer you leave them the better. See step 5.
2.Freezing: Place seashells in a water-tight Ziplock?—¢ bag, cover with water, then place in the freezer (just like you would do to fresh fish). When you are ready to clean them, let the bag thaw at room temperature until completely defrosted. You should be able to grab hold of the animal inside and gently pull it out. Go now to cleaning dead shell specimens.
3.Boiling: Place seashells in a pot, add water, and bring to a boil. Let boil for a few minutes (the more shells the longer). Use tongs to remove one shell at a time. So you don’t burn yourself, grasp shell with gloves or a towel and gently pull out the animal tissue inside. See step 5.
4.Microwave: As long as you don’t mind the smell in your microwave, this is an easy method. The time it takes to cook your seashells can really vary by microwave, so just try it until you figure out how long for each shell. Grasp cooked shell with gloves or a towel and gently pull out the animal tissue inside. See step 5.
5.Bleaching: When no tissue remains, soak the seashells in a 50-50 solution of bleach and water. The length of time depends on the type of seashells and the quantity of seashells being cleaned. You must remove them after the “periostracum” is gone. The periostracum is the flaky, leathery covering that covers most live seashells.
A seashell that is found already dead is actually a lot easier to clean. Follow these easy instructions:
1.Bleaching: Soak the seashells in a 50-50 solution of bleach and water. The length of time depends on the type of seashells and the quantity of seashells being cleaned. Just be sure to remove them when the “periostracum” is gone. The periostracum is the flaky, leathery covering that covers most live seashells.
2.Barnacles: If there are still barnacles and other matter on the seashells, you can use an instrument, such as a dental pick, to chip off the material. Other useful tools are a toothbrush, grill brush, wire brush or a water pick.
3.Shining: If you want to give your seashells a nice finish, you can wipe them with a mineral or baby oil.
Cleaning Sand Dollars
?ĢIf the sand dollars are dead let them dry for a few days, then put them in a pan with a little bleach. You may need to brush them gently. Do not let them bleach for too long as they tend to crumble.
?ĢIf you have the time you can just let them set all winter and they will dry and whiten by themselves.
?ĢIf you leave sand dollars out in the sun too long they tend to become brittle and break easily. There is a commercial preservative that can be brushed on to harden the sand dollar.


How very lovely—all the treasures of the sea and you can pick them up in your two hands.
And educational, as well. I'm glad you had such a wonderful vacation, and that you have such lovely treasures to reminisce over.
Love all the shells, I lived in Florida on the beach many moons ago and I was always collecting shells and sand dollars, I love my collection.
I am having a Easter Candy Cup Giveaway.
Stop on by for a chance to win!
Join the Fun
http://www.saturdayfinds.blogspot.com
Hugs, Diane
LOVE the basket! I take one shell every year from our family beach trip and write the date on it for my granddaughter. Just a little something for her to have as a remembrance of our family beach trips as she gets older!
Your shells are so beautiful, Tonja, and you found the perfect box for them! How smart you are, and I bet it's just as pretty as that $125.00 box you saw in the shop. What a lovely reminder of your and Joy's wonderful times in Maui.
What beautiful shells! I made something like your box for a 4H project quite a few years ago. Love it!
Thanks for all the information. I had no idea. Love the box you made, it come out perfect.
So pretty! I bet it's also pretty satisfying that you made this yourself, instead of forking out $125!